
All Categories
What is a Tight Top Mattress?
A tight top mattress is a mattress with a flat, even surface where the top fabric panel is tightly stitched to the side panel, creating


A bunk bed is dismantled by taking out the bedding and mattresses, removing guardrails, detaching the ladder, separating the top bunk, and unfastening the frame. Many people choose to do this when moving homes, redecorating a child’s room, or replacing older furniture. The process is smoother when done in stages with the right tools such as a screwdriver, an Allen wrench, and an adjustable wrench.
Safety and organization are essential throughout the task. Clear the work area before beginning, wear protective gloves, and ask someone to assist with lifting heavier parts. Keep screws and bolts in labeled bags to make reassembly easier. For families unsure about handling larger structures, professional help ensures safe and quick disassembly.
This guide provides a clear, step-by-step process for dismantling a bunk bed from start to finish:
Dismantling a bunk bed begins with preparing the bed, then removing key components in sequence until the frame is fully separated. Working systematically avoids damage, keeps hardware organized, and reduces the risk of injury during the process. Follows the clear, ordered process below to keep each step manageable and safe:
Take off all bedding, including sheets, blankets, and pillows, to expose the mattress. Lift each mattress carefully and set it aside in a clean, open space. This step clears the work area and prevents fabric or padding from getting in the way while loosening screws or removing guardrails. Always inspect the mattress for wear or damage before storing it. This makes the next stages easier and ensures nothing is damaged during disassembly.
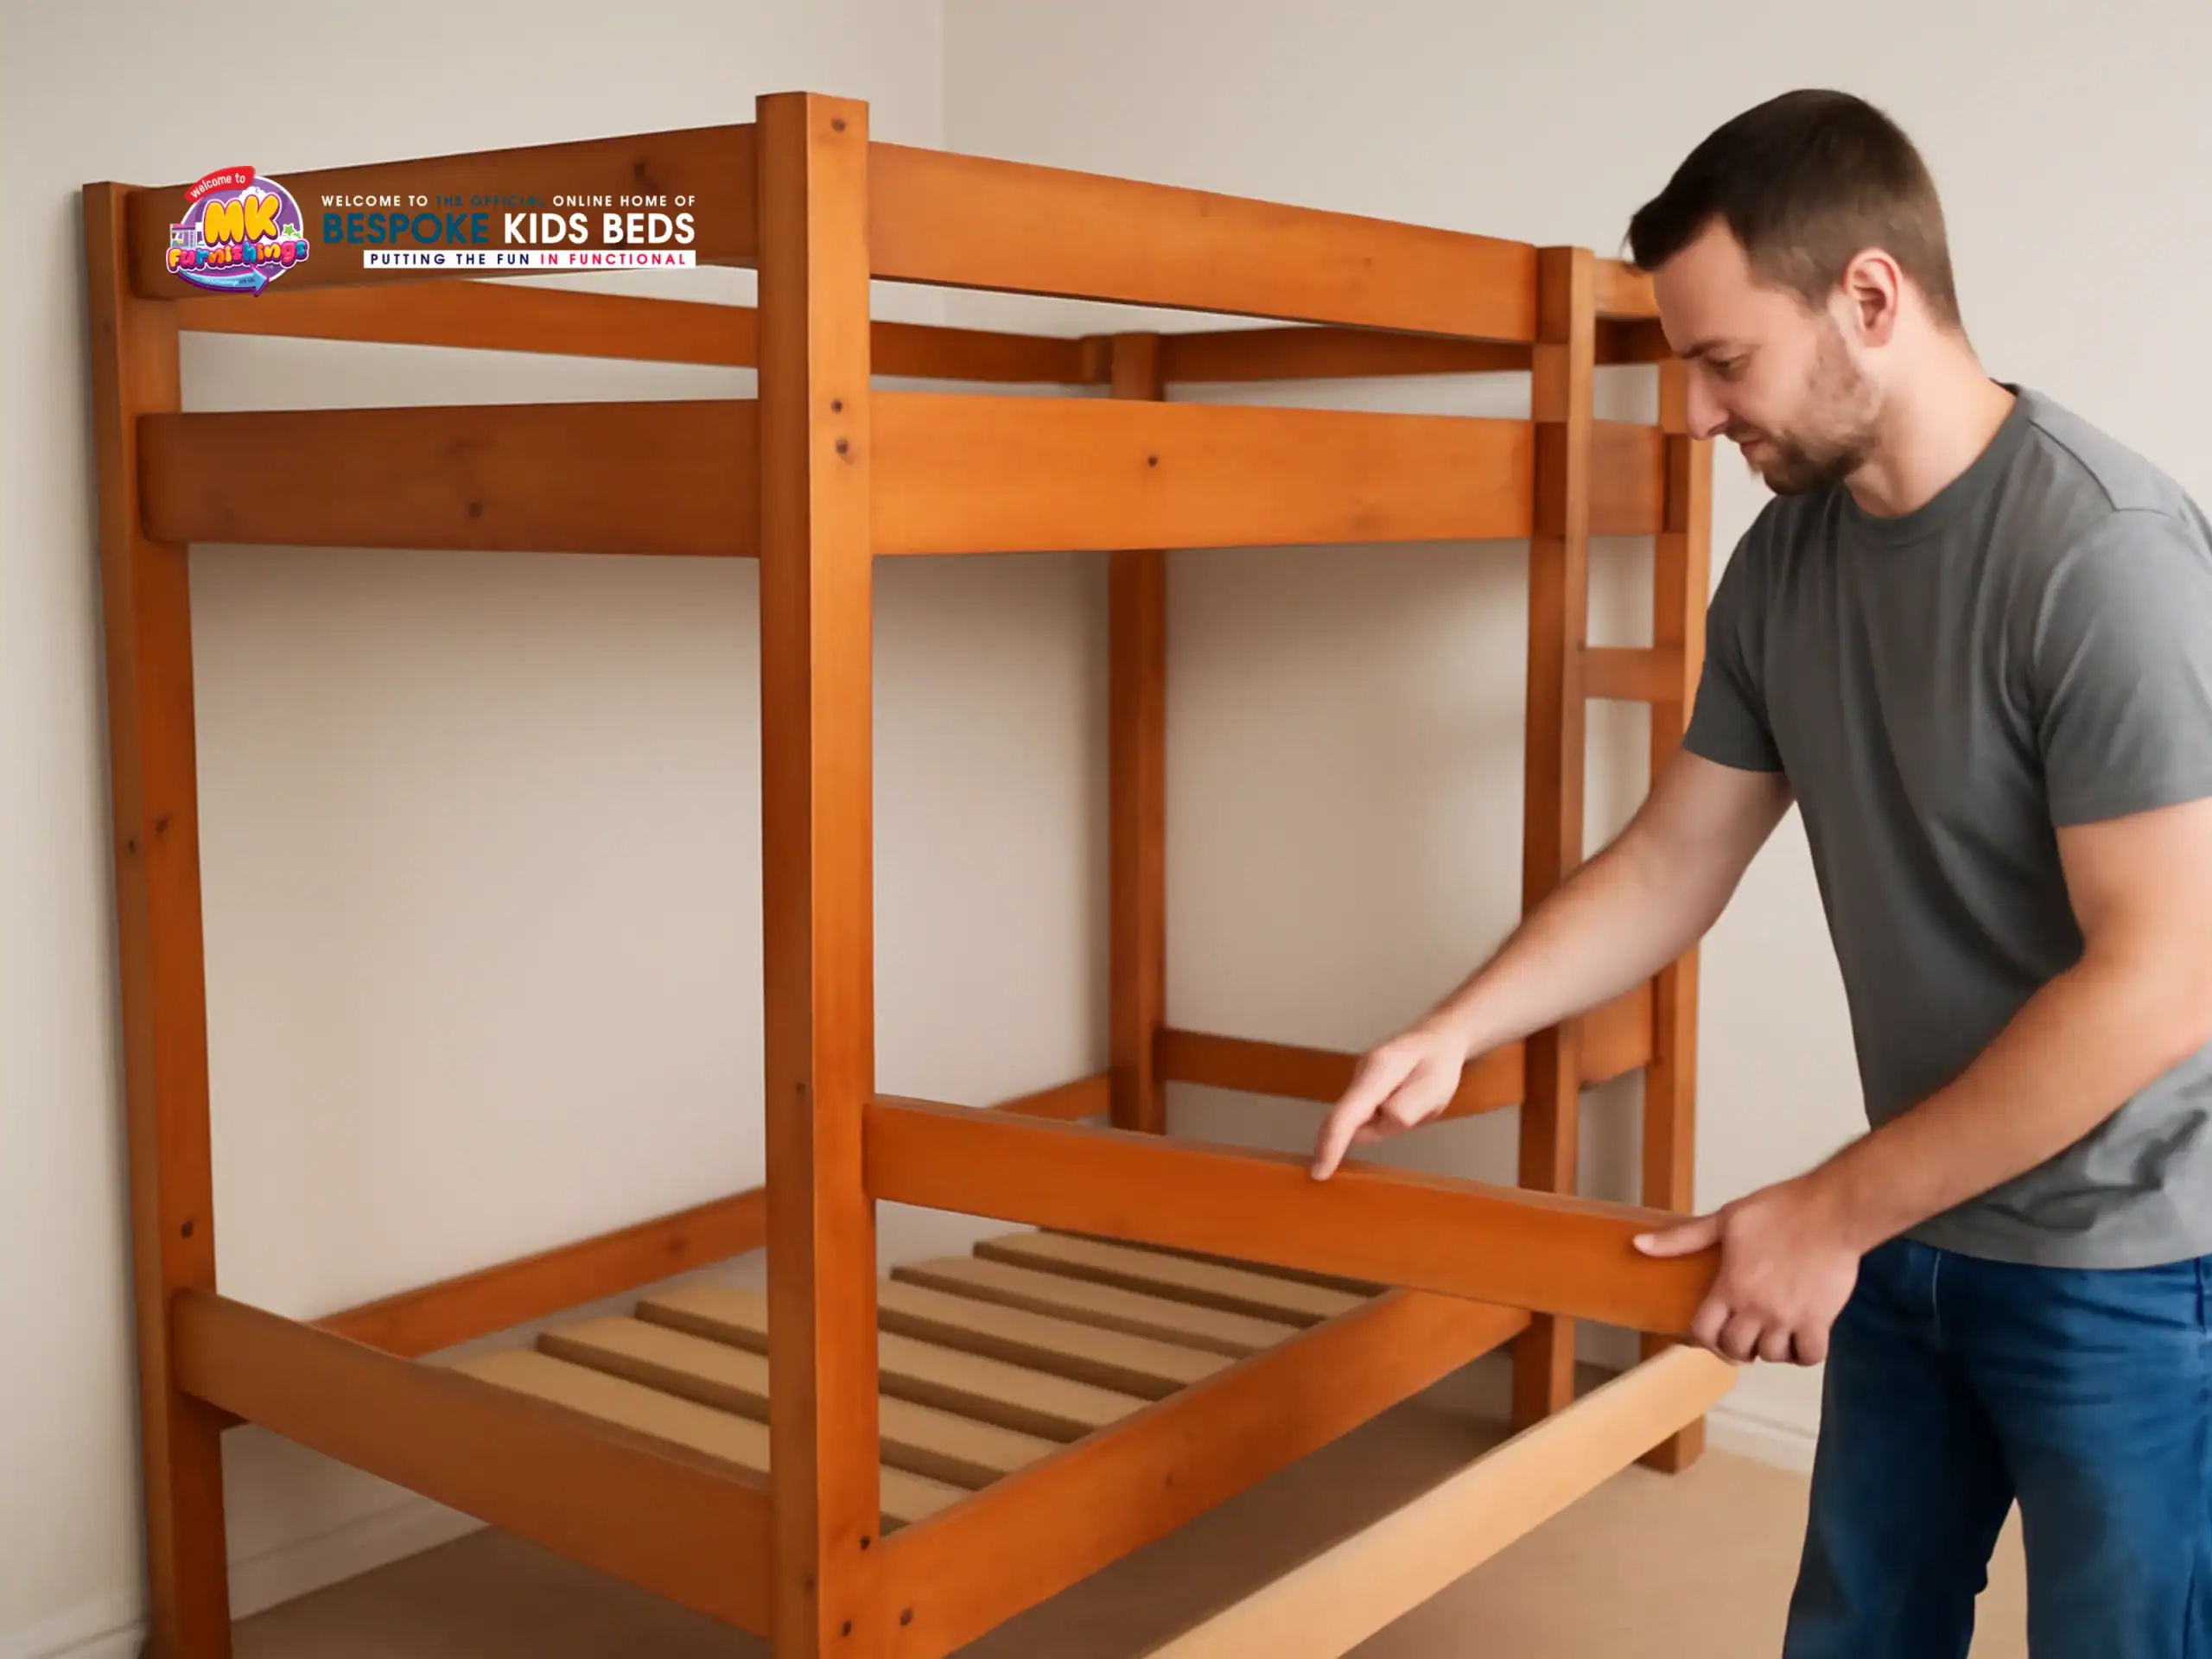
The guardrails must be taken off before detaching the ladder or separating the bunks. Using a screwdriver or Allen wrench, loosen and remove the screws or bolts securing the rails to the bed frame. Place the fasteners in a labeled container immediately after removal so that it is not lost. Guardrails often have hidden screws near the corners, so check both ends carefully. Once removed, keep the rails flat on the floor to avoid warping or damage.
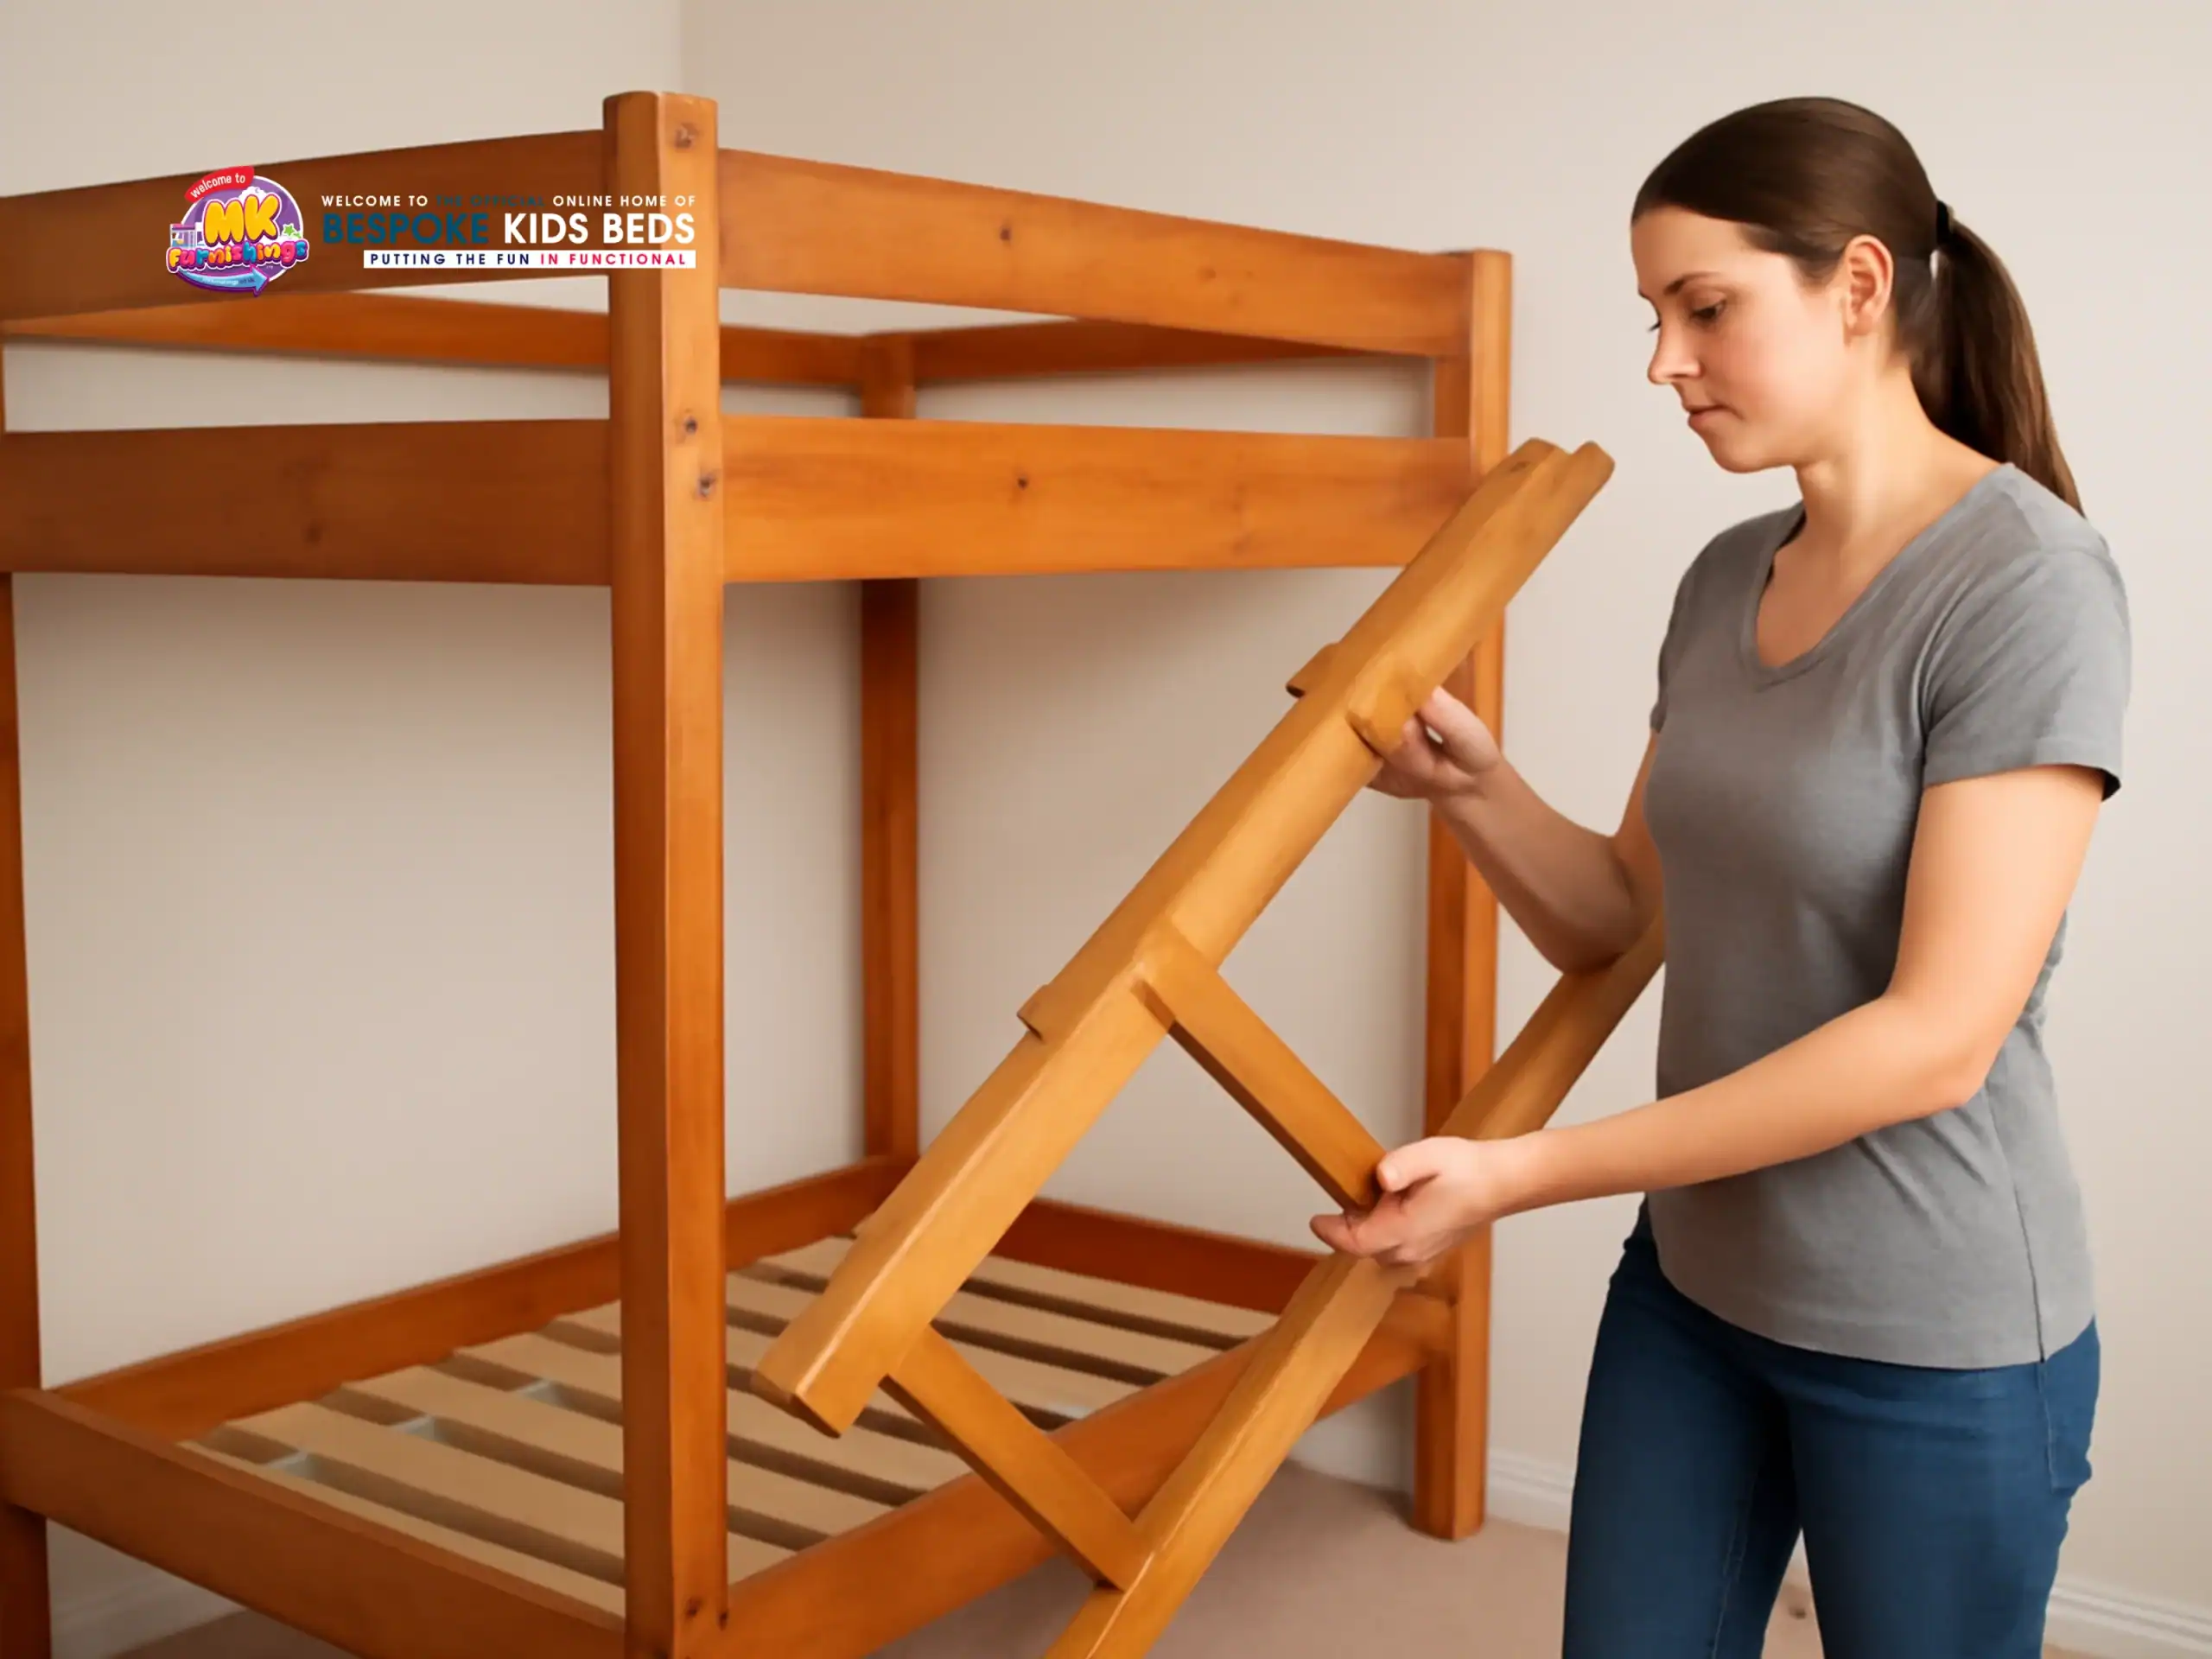
The ladder is typically fastened with bolts or screws, which should be loosened evenly on both sides. Hold the ladder steady while removing the last few fasteners to prevent it from tilting. If it is an integrated ladder, ensure the surrounding joints are released before pulling it away from the bed frame. Place the ladder on a soft surface to prevent scratches, and store all fasteners together. Detaching it early opens up space and makes it easier to separate the upper bunk safely.
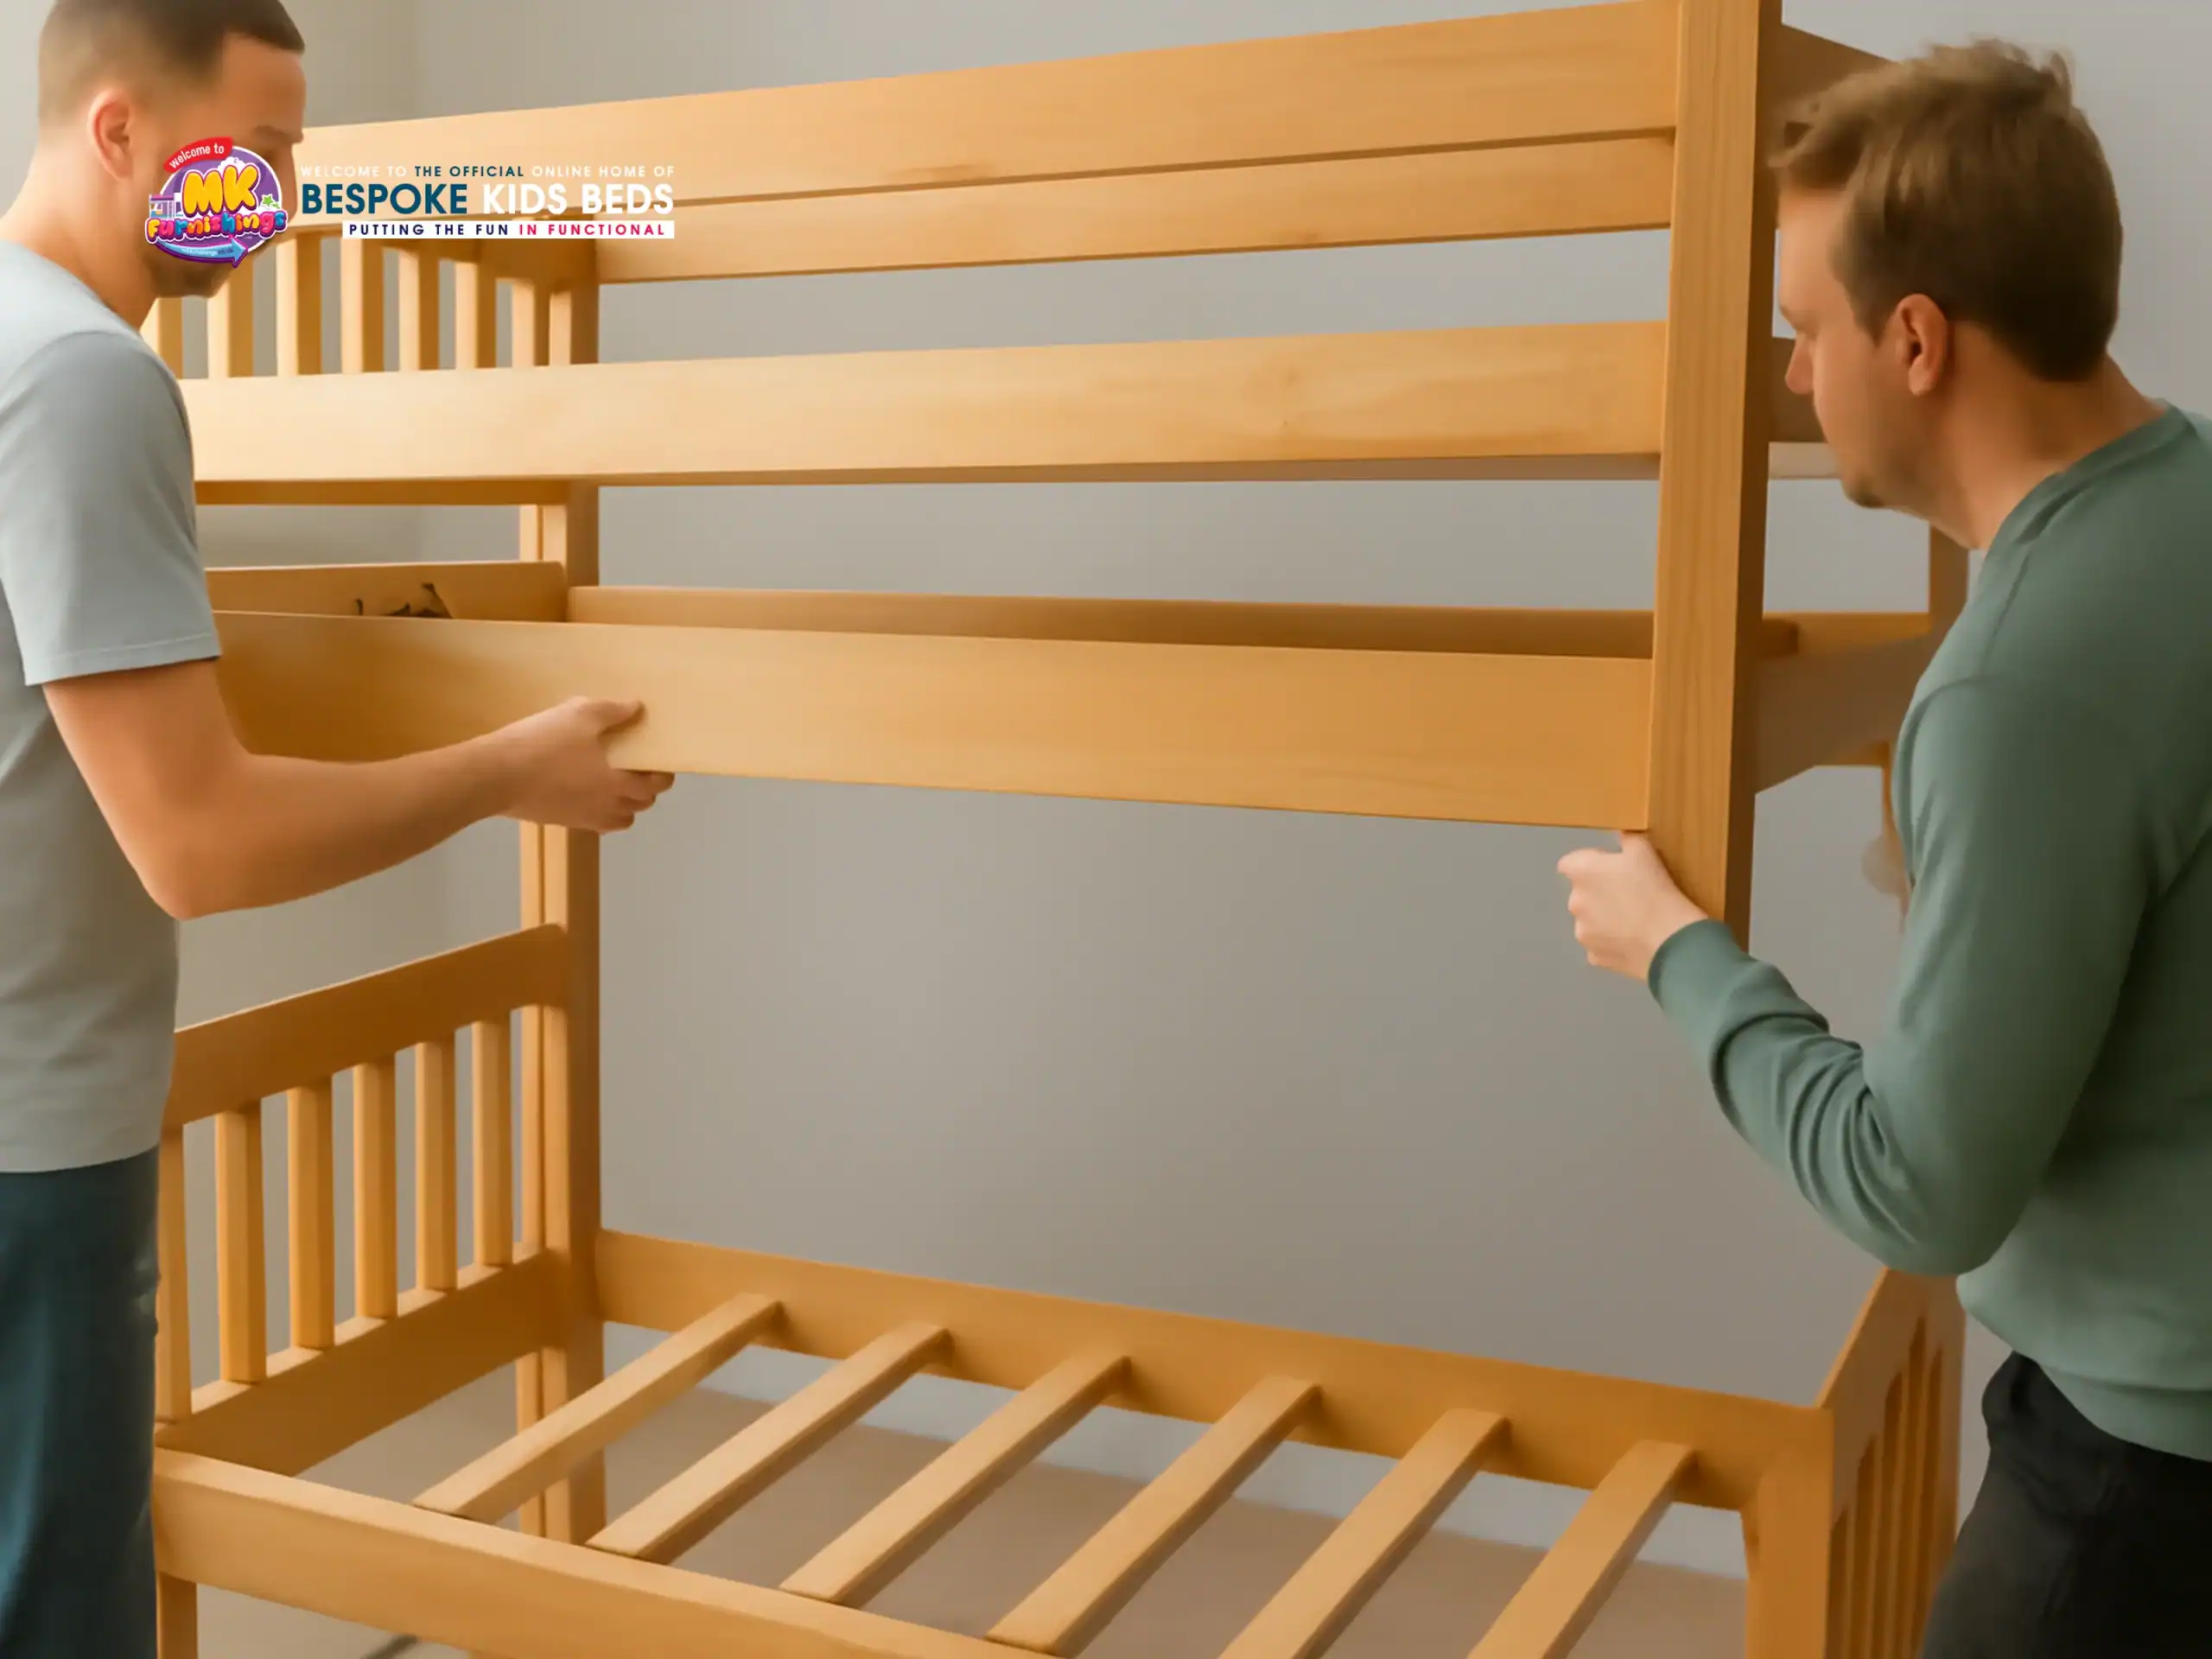
This step involves separating the heavy upper bunk, joined to the lower frame with dowels or connecting posts. Since the task requires careful lifting and balance, it should be done with the help of another person. Both individuals should lift the top bunk slowly and evenly to prevent strain or sudden movement. Keep the lower bunk stable during removal, and use padding beneath the top bunk when setting it down. Doing this carefully reduces weight and makes handling the remaining parts easier.
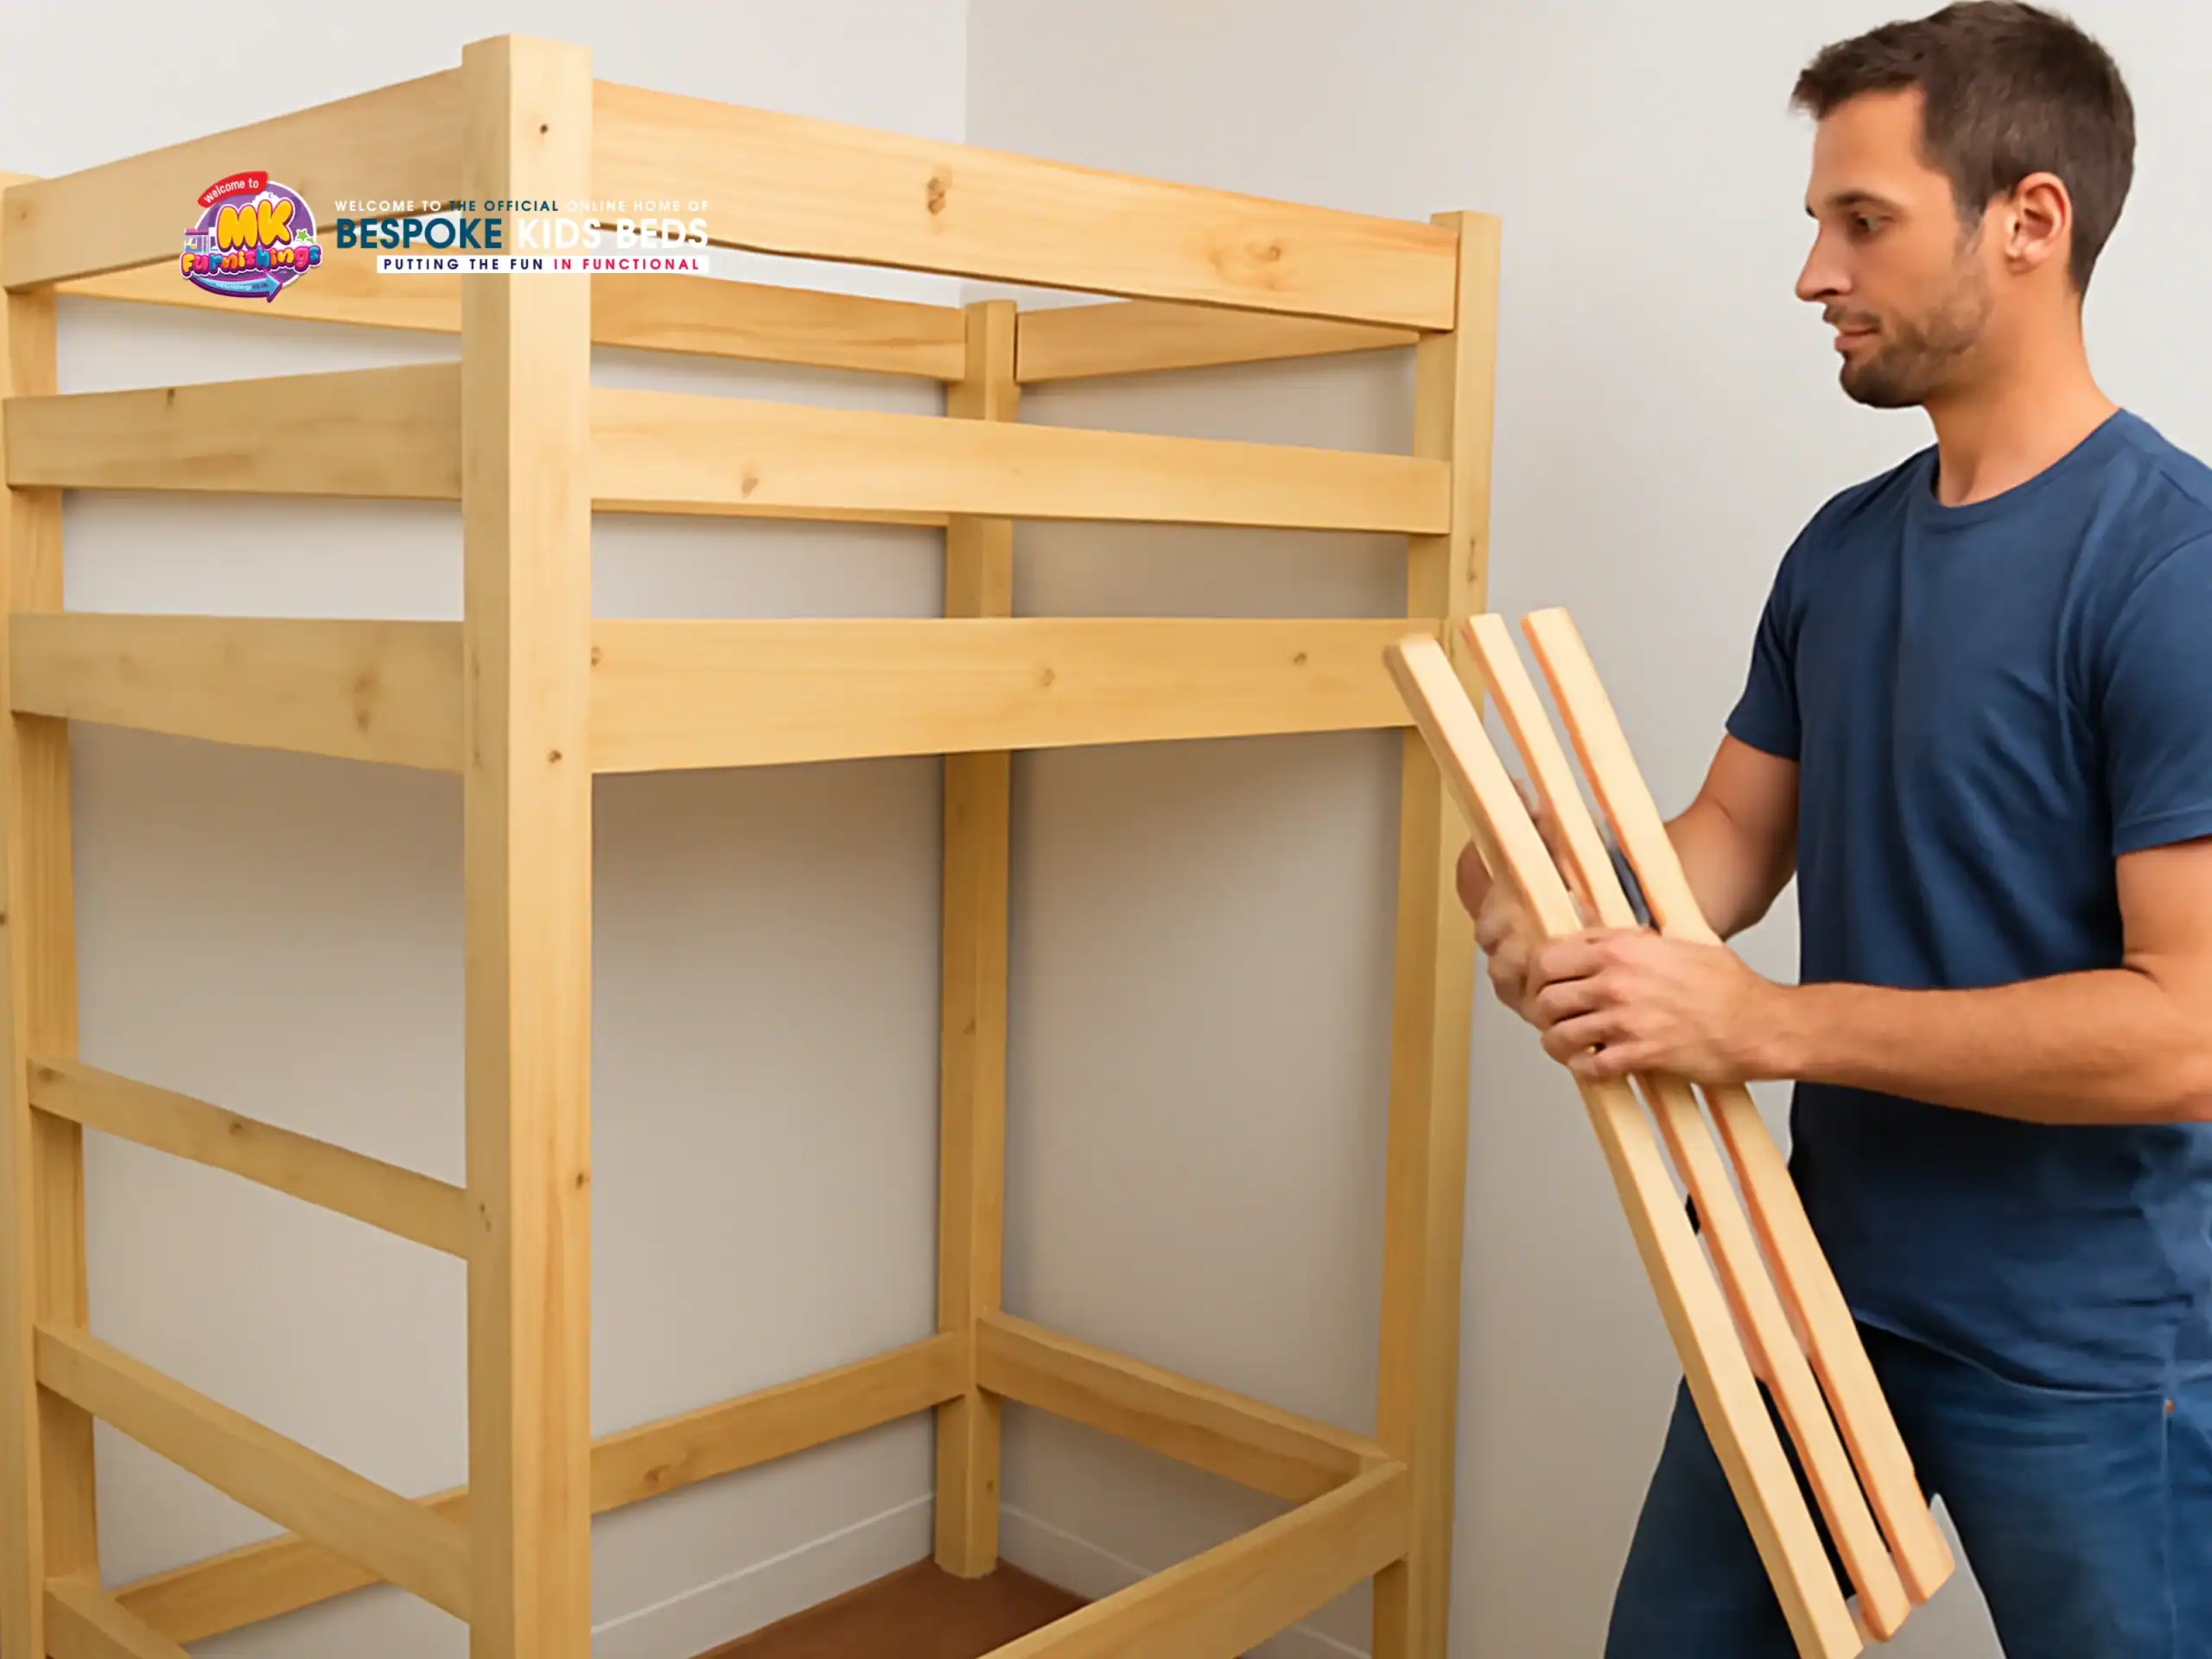
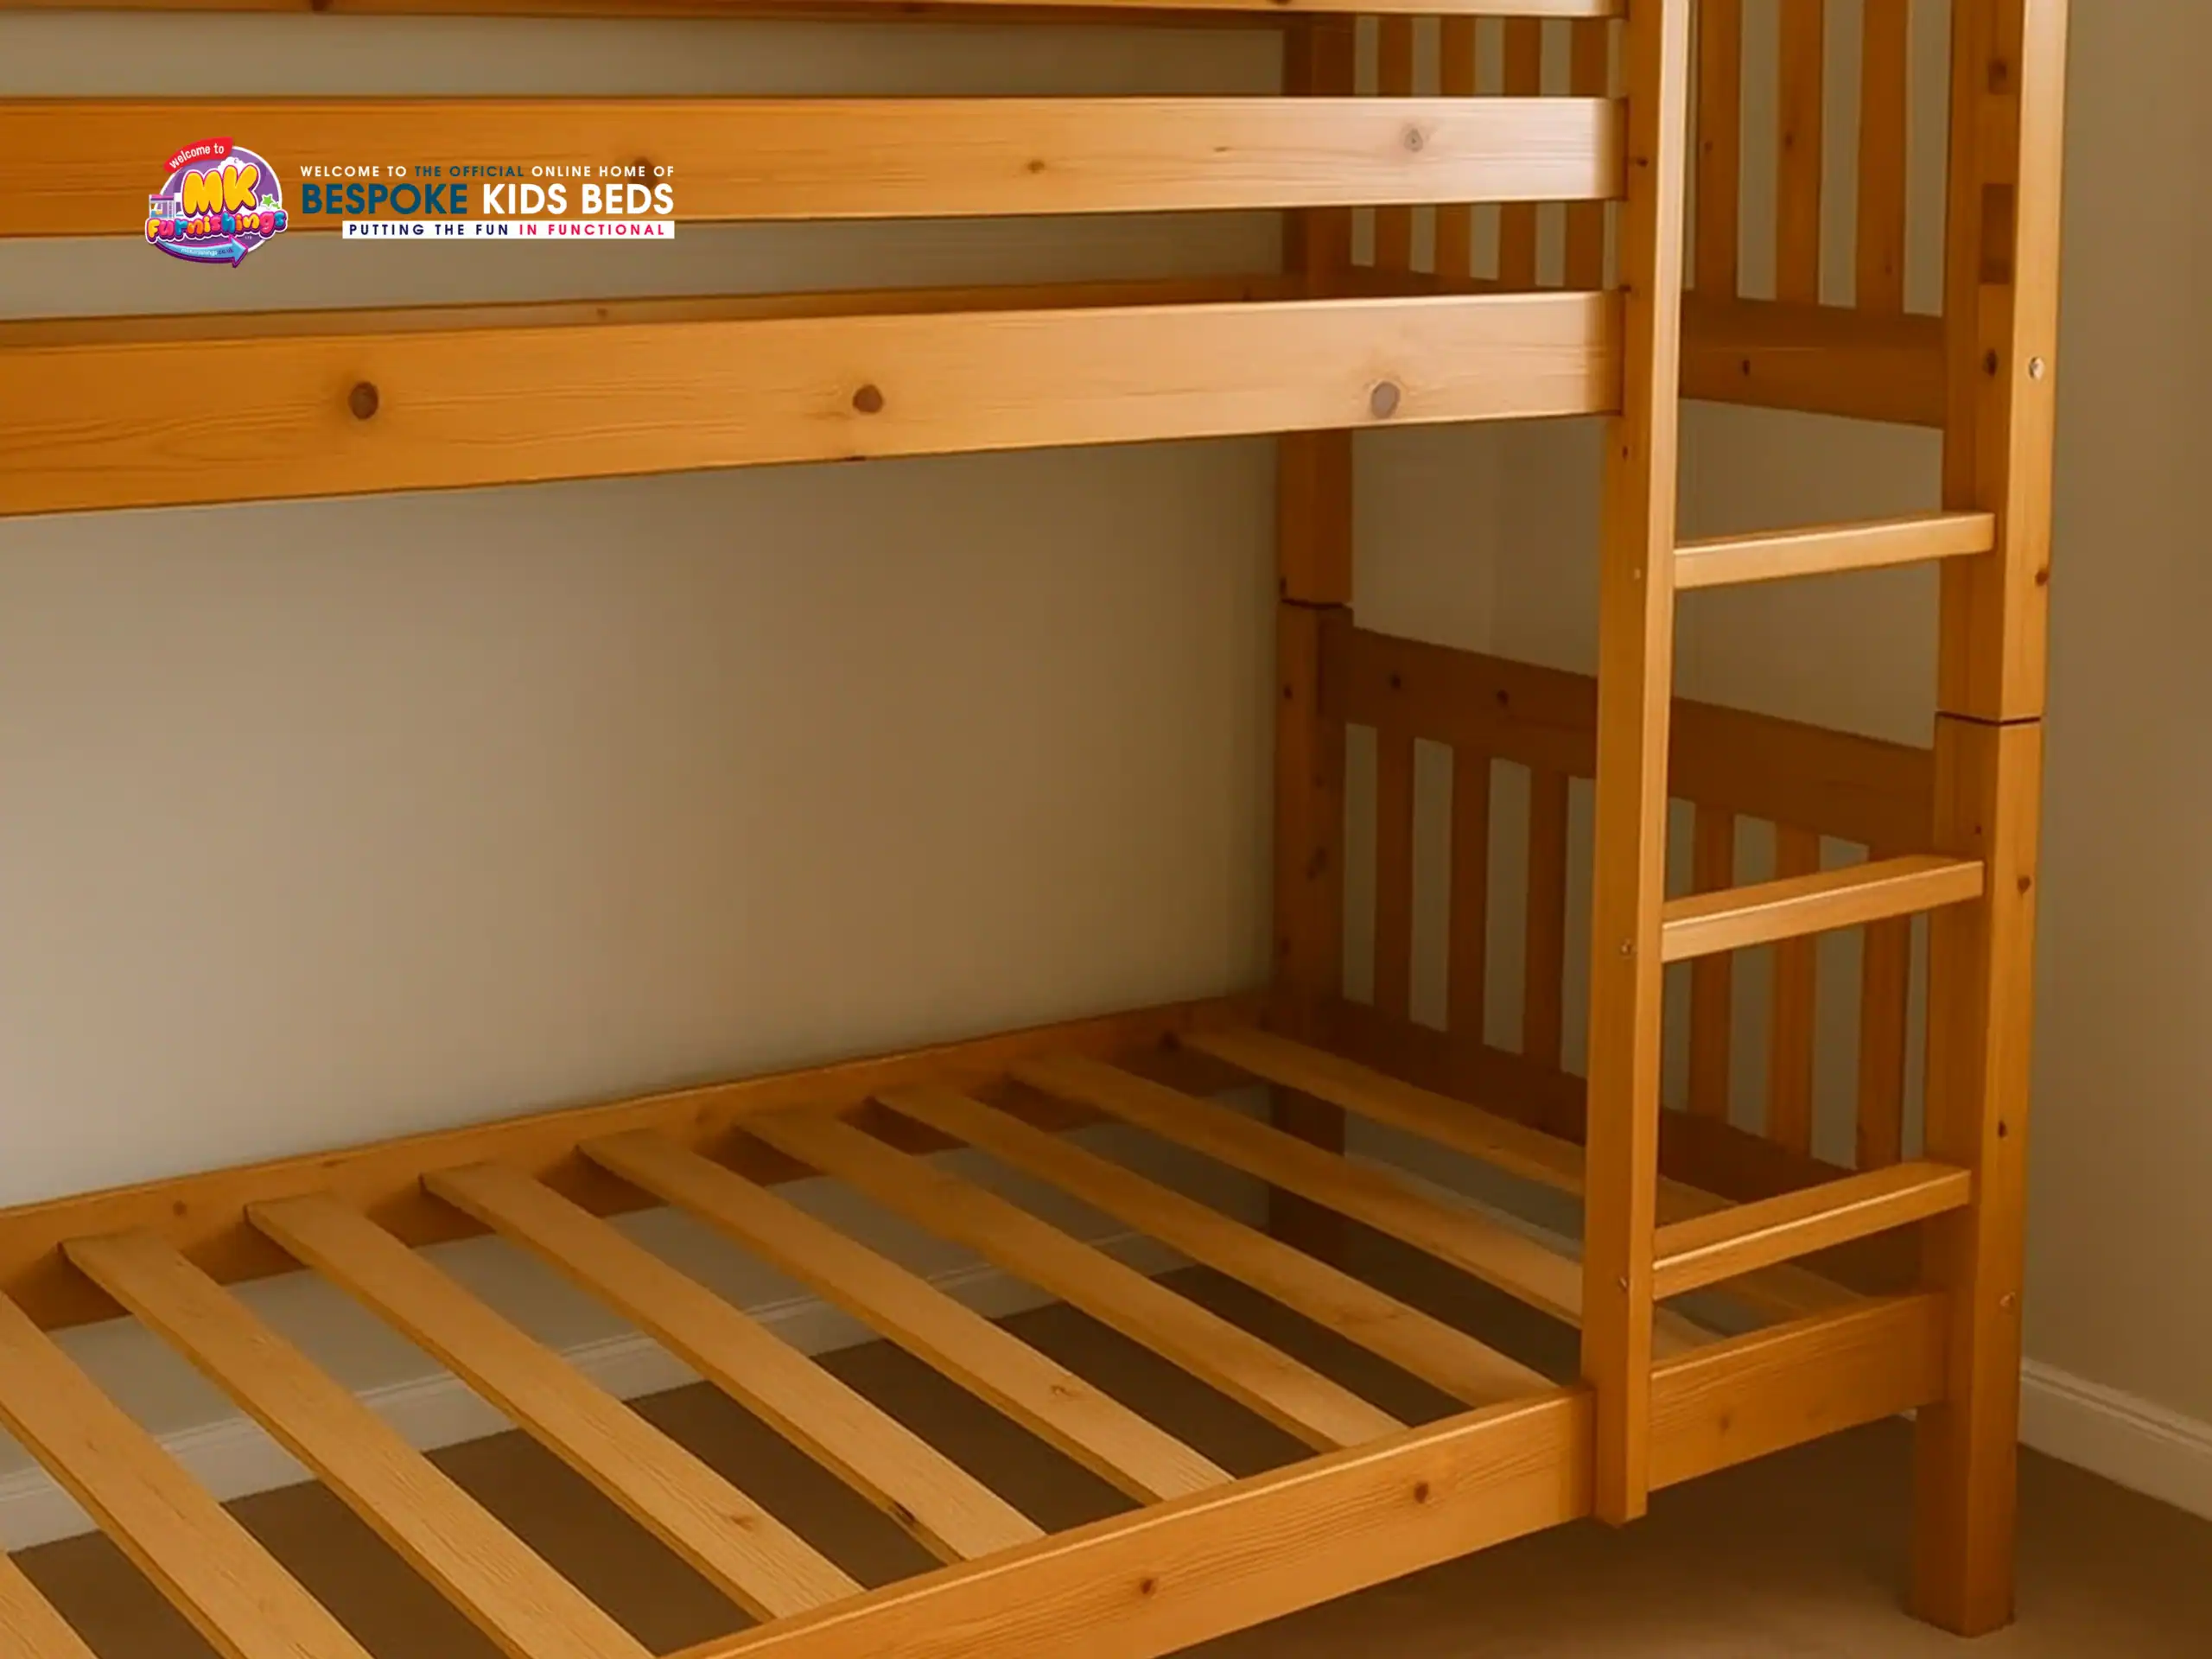
The mattress slats support the sleeping surface and must be taken out before dismantling the main frame. If the slats are fixed with screws, remove them with a screwdriver, one by one. Loose slats can simply be lifted out. Keep all slats stacked neatly to maintain their shape. Removing them lightens the frame and gives access to inner bolts or brackets that hold the bed together.
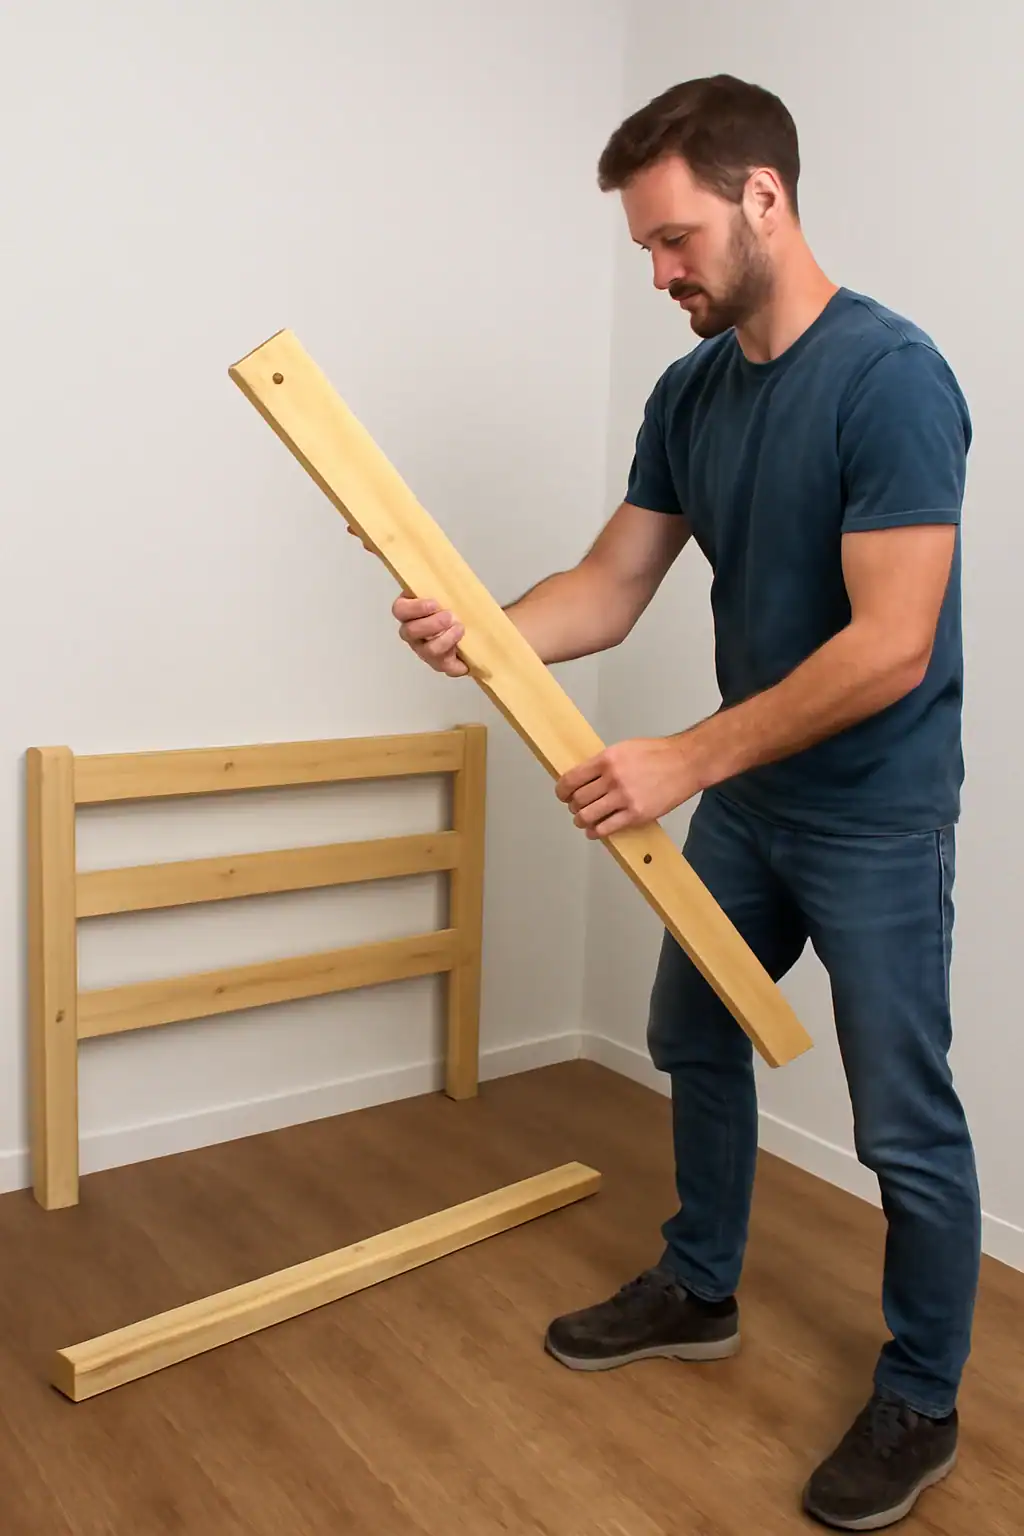
Once the bunks are separated and slats removed, start loosening the frame joints. Use the correct tools like a screwdriver or a wrench to detach side rails, headboards, and footboards. Work evenly on both sides to prevent twisting the wood or metal. Lay each frame piece on the floor in an organized manner. Taking apart the frame is the most detailed stage, so label every part with masking tape for clear identification during reassembly.
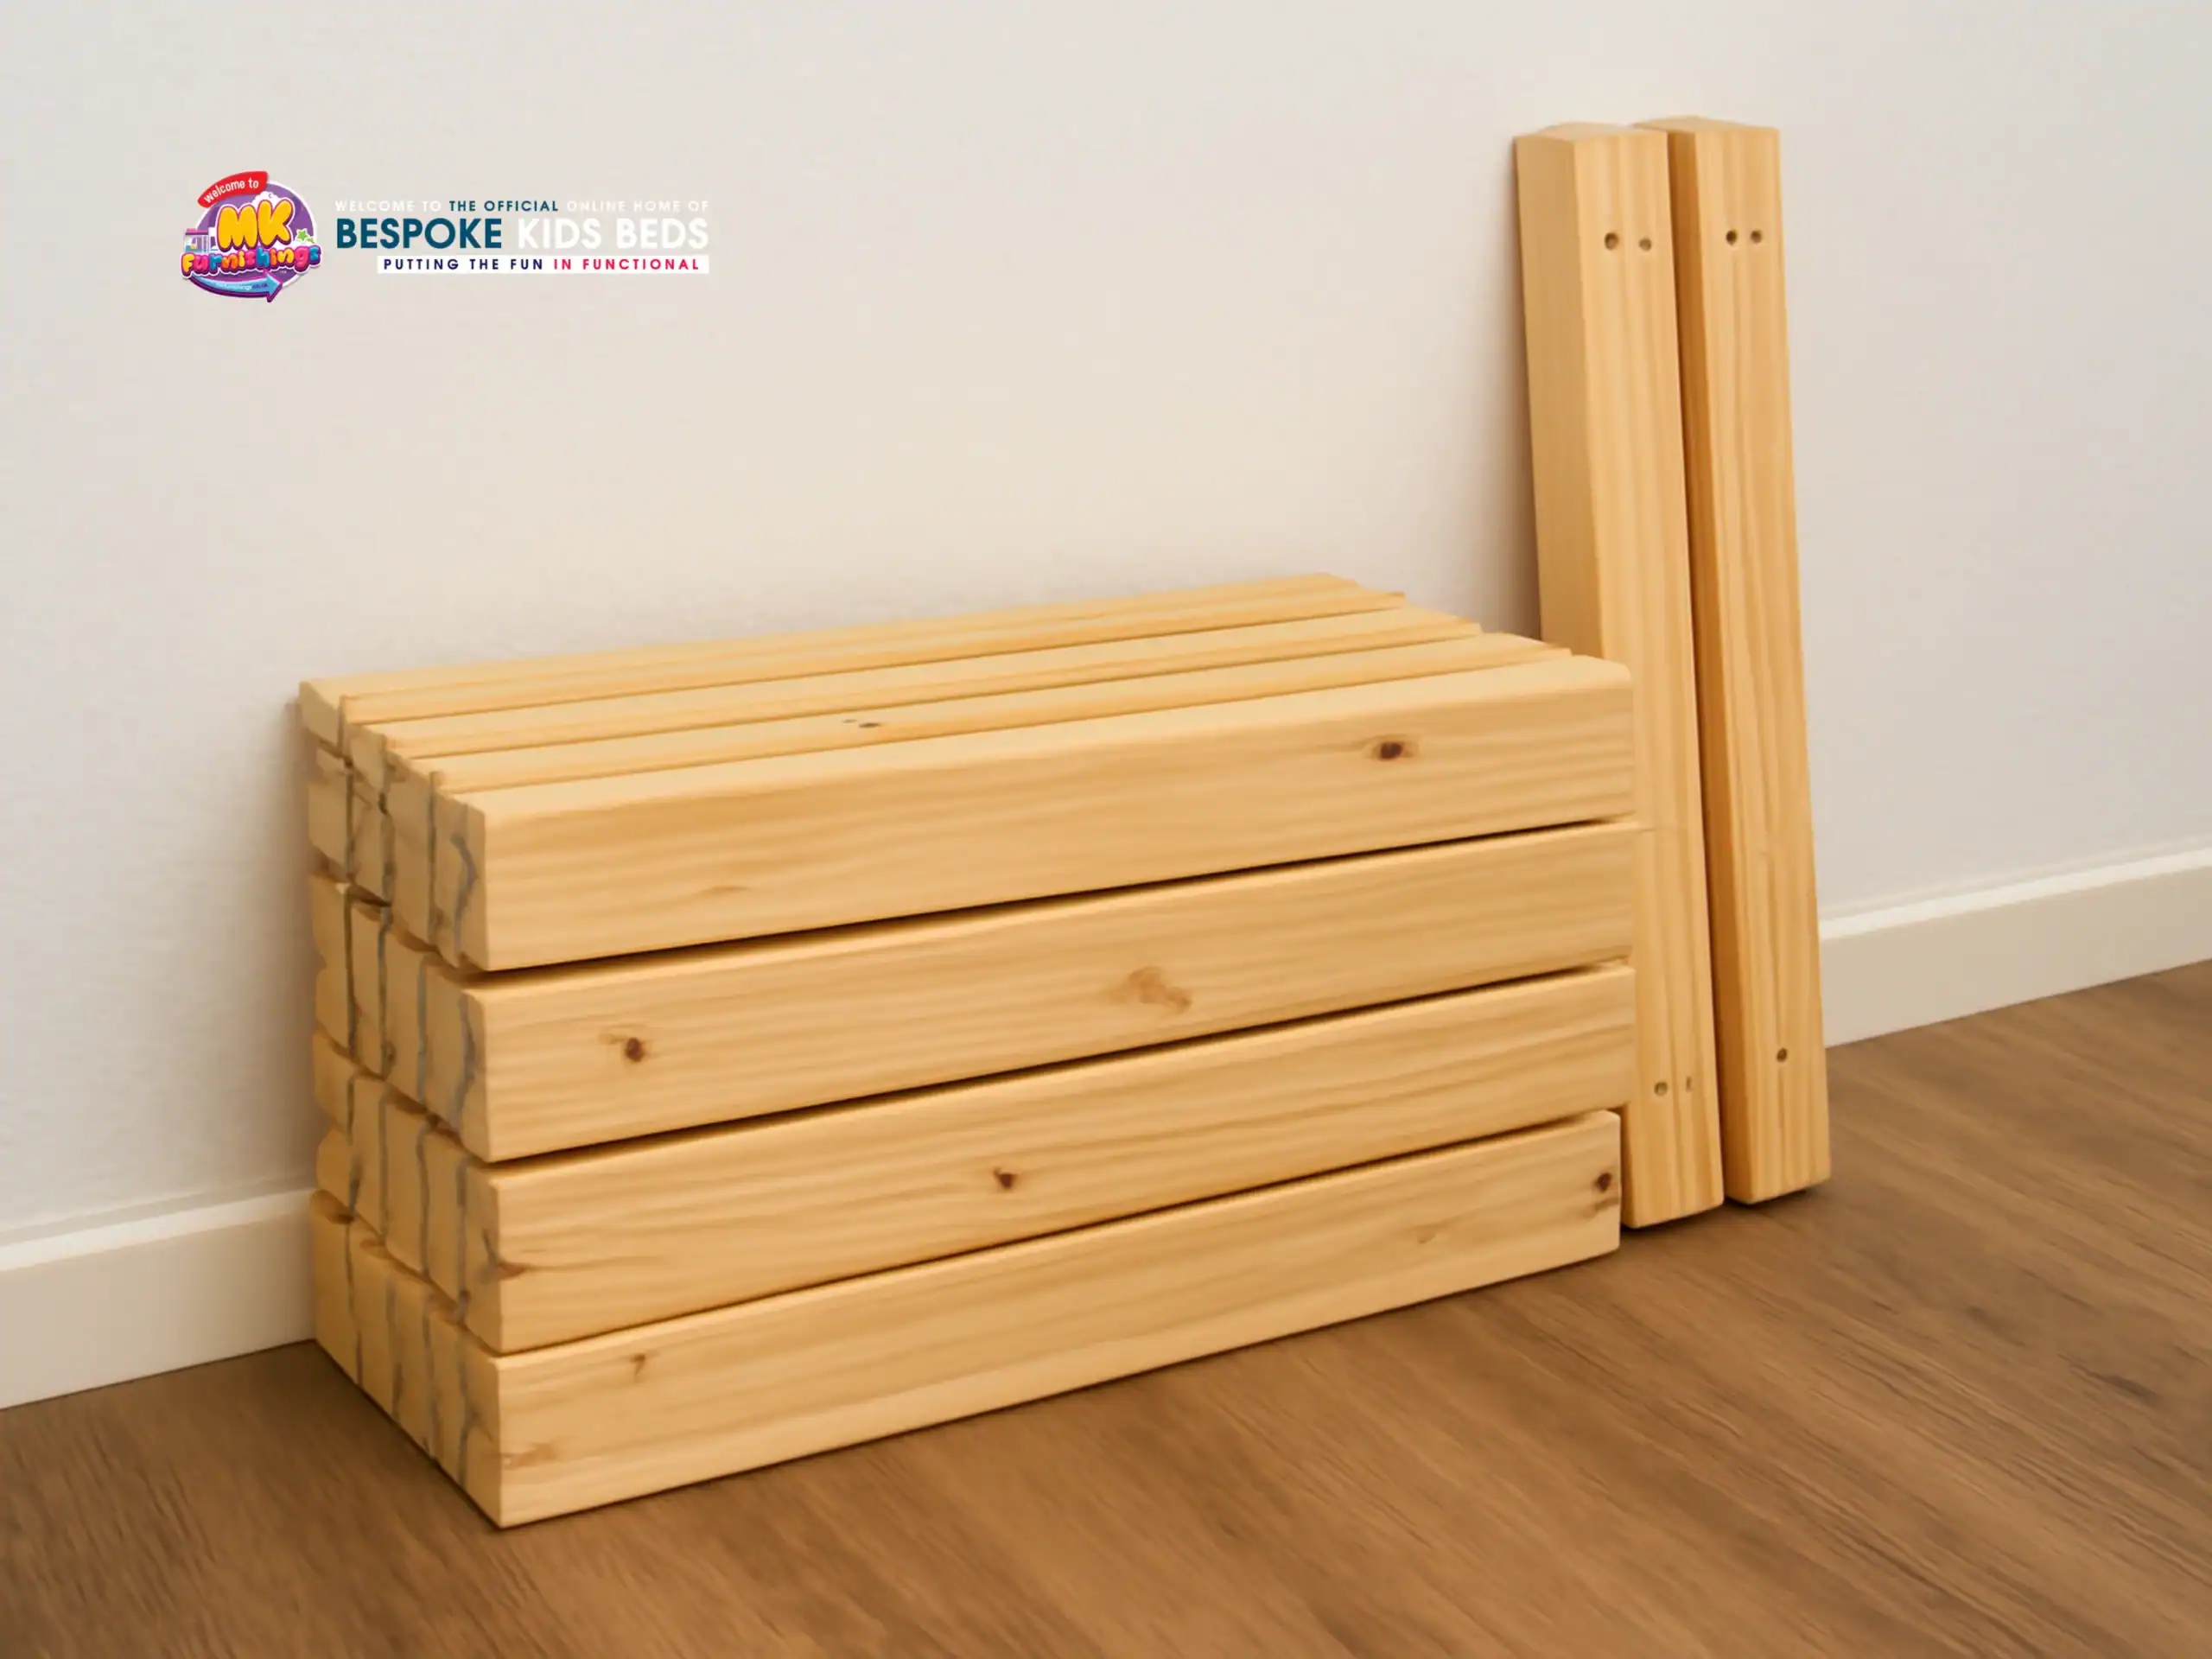
After all parts are detached, organize them by size and type. Stack larger panels such as side rails and headboards vertically against a wall, and place small hardware like bolts, washers, and nuts inside labeled bags. Wrap wooden parts in soft cloth or cardboard to prevent scratches. Proper labeling and stacking keep every part identifiable and prevent hardware from getting lost or misplaced, making it easier to rebuild the bed in the future or transport it without losing any components.
Following are the necessary tools to dismantle a bunk bed:
Using the correct tools ensures a smooth, safe, and damage-free disassembly. A screwdriver or wrench that fits properly prevents stripping screws or bending bolts, while pliers help manage tight fasteners. Preparing all tools in advance makes the process efficient and minimizes interruptions. If any of these tools are unavailable or if the bed design appears complex, opt for professional help to avoid damaging parts or risking injury.
Taking safety precautions during bunk bed disassembly prevents injury and protects both the furniture and surrounding space. Preparation and careful handling at every step ensures that no one gets hurt and the furniture remains in good condition for future use. Preparation involves:
Begin by creating an open workspace free of furniture, toys, or objects that could cause tripping or obstruction. Clearing the area provides enough room to move around safely while lifting or removing larger bed components. A clean, well-lit space helps reduce the risk of accidents during disassembly.
Protective gear such as gloves, safety glasses, and closed-toe shoes shields against injuries. Gloves prevent splinters or cuts from sharp edges, and safety glasses protect the eyes from dust or flying debris. Wearing suitable footwear adds grip and stability while handling heavy or awkward parts.
Inspect the entire bed for any sharp corners, exposed screws, or unstable sections before starting. Tighten loose bolts and smooth rough edges using sandpaper or a protective cover if necessary. This simple check helps prevent scratches and cuts while ensuring the bunk bed remains stable throughout the dismantling process.
Keeping each component organized after disassembly prevents confusion and makes reassembly much simpler. Sorting, labeling, and storing parts properly ensures that nothing is lost, misplaced, or damaged in storage. Larger sections such as bed frames and side rails should be stacked neatly, while smaller items like screws and bolts need to be grouped and labeled for quick identification later.
Effective organization of parts after bunk bed disassembly includes these steps:
Professional help is often needed when the bunk bed is too large, complex, or includes built-in features such as staircases or storage units. Heavy wooden frames or intricate fastenings can be difficult to manage without the correct tools or experience. Attempting to dismantle these alone may lead to damaged parts or personal injury. Skilled specialists can determine the right sequence for disassembly and handle each component with precision and care.
For families who prefer expert handling, services from professionals such as MK Furnishings provide a safe and efficient solution. Their team uses proper equipment, labels every section, and ensures all parts are ready for transport or reassembly. Choosing professional support saves time, avoids unnecessary strain, and guarantees a secure and well-organized process.
To dismantle a bunk bed without tools, separate each section gently by hand, starting with the mattresses and guardrails, then lift the upper bunk carefully with another person’s assistance. This method works only if the bed parts are joined using slots or dowels instead of screws or bolts. Forcibly using bare hands or makeshift tools to loosen screws can damage both the bed and the tools being used.
Disassemble a metal bunk bed by loosening all bolts and fasteners with a wrench or Allen key, then removing the guardrails and ladder to fully separate the upper and lower frames. Once the attachments are free, separate the upper and lower frames carefully, keeping each bolt, washer, and nut stored in labeled bags.
To take apart a bunk bed with stairs, begin by removing any built-in steps, drawers, or storage units attached to the frame. Use a screwdriver or wrench to unfasten the bolts or clips that secure the staircase to the bed. Once detached, place the stairs on a flat, padded surface to prevent scratches or cracks, then proceed to separate the upper bunk from the lower section with assistance.
Start by taking off the guardrails and ladder to clear the upper frame. Unscrew or lift the top section from its connecting posts with the help of another person to keep it steady. Move it carefully to a padded area or floor space to prevent scratches or damage to the lower bunk.
To disassemble a wooden bunk bed, begin by using a screwdriver or Allen wrench to remove all screws and bolts securing the guardrails, ladder, and frame. Then lift off the top bunk with another person’s help. Detach the slats carefully and stack them neatly to avoid bending or splintering. Handle each wooden panel gently to prevent cracks or surface damage, and store all sections flat on a clean surface with padding for protection and easier reassembly later.

A tight top mattress is a mattress with a flat, even surface where the top fabric panel is tightly stitched to the side panel, creating

Certifications like Greenguard Gold, National Bed Federation Certification, and CertiPUR US serve as verified approvals that help buyers identify mattresses that are safe and healthy
