
All Categories
How High Is a High Sleeper Bed?
A high sleeper bed measures between 170 cm and 200 cm in total height, depending on the model and design. These beds create usable space


Building an ottoman bed can be an exciting DIY project, but it requires precision and attention to detail. This comprehensive guide is designed to walk you through every step of assembling your ottoman bed, whether you’re new to DIY or just looking for a clear, hassle-free approach.
You will find information you need, including the required tools, a list of pre-assembly checks, detailed instructions on installing the lift mechanism, and solutions to most problems encountered during the process. This guide is designed to help users assemble the bed in just 2 hours with confidence.
By the end of this guide, you’ll have a fully assembled ottoman bed, ready for use, with all the features in perfect working order.
Before beginning the assembly of your ottoman bed, being fully prepared with the necessary tools and a clear workspace is essential. Proper preparation is key to making the assembly process smoother and faster. Users should have the right tools, like an Allen key, rubber mallet, spanner, measuring tape, and optionally, an electric screwdriver, at hand.
These tools are typically required to secure various parts of the bed frame, tighten bolts, and assemble the lifting mechanism. After that, clear a space about 2 to 3 feet, large enough to work in. Then lay down a protective sheet or mat to avoid damaging the floor or the bed frame components.
Do a thorough component check using the parts listed in your instruction manual and ensure everything is included. This step helps you identify any missing or damaged parts early in the process, preventing unnecessary delays during assembly and making the entire assembly process smoother and faster.

When assembling your ottoman bed, having the right tools is crucial for securing the bed structure and ensuring a smooth operation. Some common tools included with the bed are Allen keys, while others are needed.
Here’s a list of the essential tools required:
For additional efficiency, having an electric screwdriver speeds things up, but users should be careful not to overtighten the bolts.
Creating a clean and organized assembly space is just as important as having the right tools to prevent unnecessary issues, avoid damaging bed components, and make the entire build process stress-free and smooth. A clutter-free space allows better movement and minimizes the risk of losing or damaging parts.
Steps for Preparation:
This preparation step speeds up the assembly and reduces any potential errors, ensuring a smoother and more enjoyable building experience.
Users should open all the packaging and carefully lay out every part and use the included manual to identify and name each component. This step helps avoid confusion in the assembly process.
Unbox and sort all components: Lay out everything clearly and group similar items together to avoid confusion.
Cross-check against the manual parts list: Ensure all listed items are accounted for before proceeding.
Inspect for damage or missing items: Look for dents, cracks, or incomplete hardware sets.
Read the full manual first: Understand each step and note any warnings or tricky sections.
Arrange parts in logical order: Place or arrange components in the order they’ll be used to streamline the build.
Users should go through the entire manual to understand the steps and spot any potential challenges before starting the assembly process.
The assembly of your ottoman bed will follow a logical sequence, starting with the frame assembly, moving on to the installation of the base and slats, and finally, attaching the lift mechanism. Whether you’re a first-time builder or a seasoned DIYer, a step-by-step guide breaks down the process into manageable stages, ensuring a stress-free assembly experience.
The process begins with assembling the outer frame, followed by attaching the central support beams, installing the gas-lift mechanism, and lastly, fitting the slatted or solid base. It is crucial to check the fit and stability at every stage before moving forward to ensure safety.
Image
Start by assembling the main frame of the ottoman bed, which provides the foundation for the entire structure. Forming a solid, correctly aligned frame is essential for the bed’s overall stability and performance.
Steps:
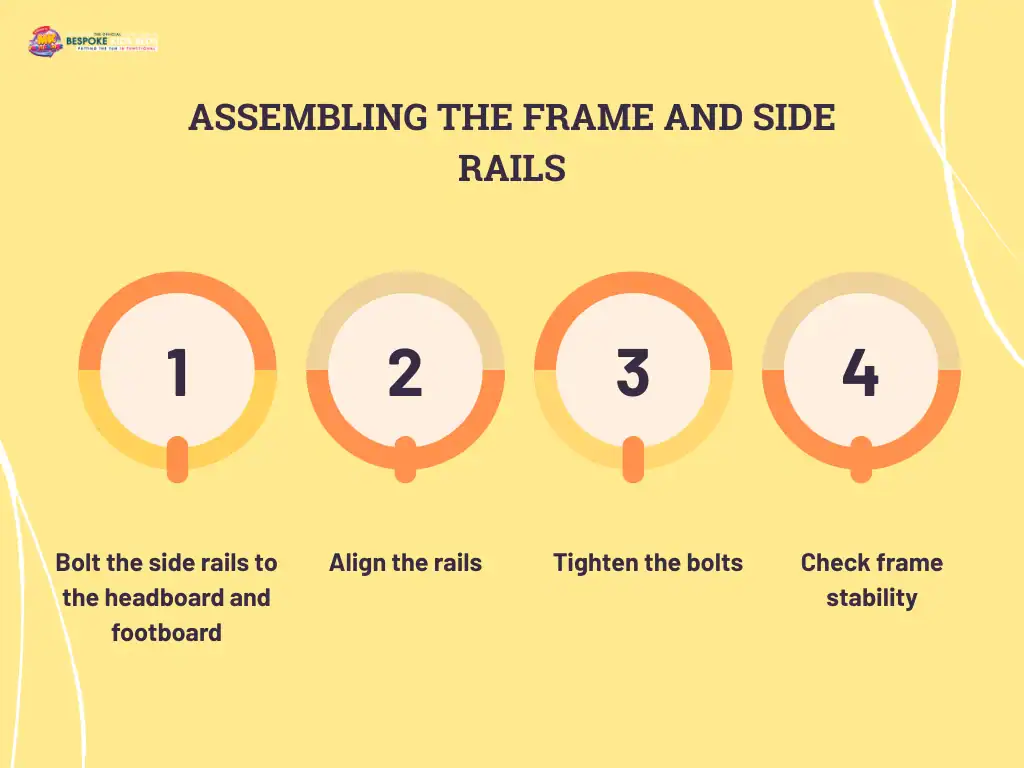
Once the side rails are secured, it’s time to attach the headboard and footboard to complete the bed’s rectangular frame. This step ensures that the bed’s structural components are stable and aligned for the rest of the assembly process.
Steps:
This step involves installing the base of the bed, which includes either slats or solid panels, depending on the model you have purchased. The base provides the necessary support for the mattress, ensuring comfort and stability.
Steps:
The base must be securely fitted to ensure the bed is stable and ready for the next steps.
The lifting mechanism is the feature that gives the ottoman bed its versatility and signature functionality, allowing easy access to under-bed storage. The lifting mechanism involved gas-lift struts or hydraulic pistons which should be installed with precision to ensure both performance and safety. Installing the lift system requires careful attention to detail to ensure smooth operation.
When it’s properly installed, this system allows the bed to lift effortlessly and stay securely open when raised. One common issue is misaligning the brackets or forcing components, which can affect how smoothly the bed lifts or closes, and might even cause long-term damage. Users should take their time during these steps, as it directly impacts the bed’s ease of use and daily reliability.
The gas struts are the key components that enable the lifting function for your ottoman bed. However, installing them properly is crucial to ensure the lift mechanism works smoothly and safely. As these components handle the holding and lifting of the bed base, correct alignment and secure fastening is essential.
Steps:
Proper hinge and arm alignment ensures that the lift system operates smoothly, providing balanced motion when opening and closing, and ensuring the long-term durability of the bed. Misaligned parts can cause uneven movement, a noisy and stiff lift mechanism, and strain the gas struts.
Steps:
Once the lift mechanism is installed and the bed is assembled, it’s time to test it to ensure it operates smoothly and securely before regular use. This phase allows users to confirm that the lift mechanism works properly and as intended.
Steps:
Even with careful assembly, you may encounter some common issues. This section is designed as a quick-reference guide and provides solutions for typical problems, such as misaligned frames, unexpected noises, awkward lifting, or malfunctioning gas struts after assembling the ottoman bed.
Most post-assembly issues fall into three main categories. First, closure issues, which are often caused by misaligned struts, overtightened bolts, or uneven hinges; second, squeaky components, which can be fixed with a light application of lubricant on moving joints or hinge points. And third, gas strut replacement, which may be needed when the bed base fails to stay open or feels too difficult to lift.
These are some minor issues that can be solved without taking the bed apart, by checking connections, applying minor adjustments, and using proper maintenance techniques.
If your ottoman bed isn’t closing properly, it’s usually due to misaligned struts or hinges. It is important to identify the cause and carefully avoid damaging the lift mechanism while solving it. Follow these steps to resolve the issue:
Squeaks or looseness often occur due to unlubricated joints or under-tightened bolts. These are minor issues that can be easily fixed and maintain the comfort and stability of your Ottoman bed. Follow these steps to solve the issue swiftly:
Gas struts can lose pressure or function improperly over time, requiring adjustment or full replacement. Users may need to adjust or replace the gas struts for the beds to function properly. Follow these steps to solve it safely:
While this guide is designed to help you assemble your ottoman bed yourself, you may prefer professional assembly. Whether you’re unsure about certain steps, short on time, or simply want peace of mind, professional assembly is a great choice. This option ensures that all parts are correctly installed and that the bed functions flawlessly. Offering a trusted and reliable professional assembly service, MK Furnishing is here to save the day. We provide full unpacking, expert frame setup, lift mechanism installation, and a final safety check for your Ottoman beds. Handling assembly work professionally is time-saving, helps avoid errors, and results in a perfectly assembled and ready-to-use bed with guaranteed stability and functionality.

A high sleeper bed measures between 170 cm and 200 cm in total height, depending on the model and design. These beds create usable space

The right bed and mattress form the structural base to improve children’s sleep by providing proper spinal alignment and consistent support for their developing bodies.
